DIY Tutorial
How to Install an SSD in a Desktop PC
An SSD upgrade is one of the best speed improvements for an older computer. Programs load faster, Windows boots faster, and the whole machine usually feels snappier.
Subtronics LLC can handle upgrades, troubleshooting, setup, and repair for customers in Flushing, Flint, and nearby Genesee County areas.
Watch the tutorial
This tutorial is a good starter walkthrough for the physical desktop install side of the job.
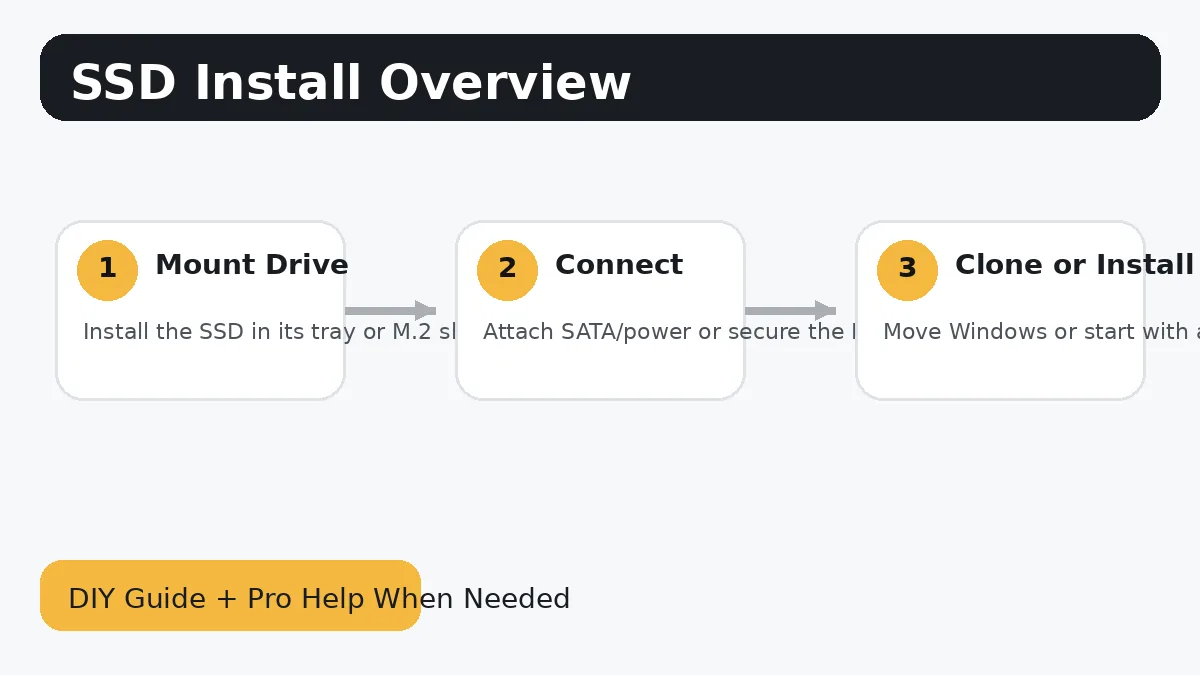
Basic steps
- Decide whether you are adding a 2.5-inch SATA SSD or an M.2 NVMe SSD.
- Back up important files before starting, especially if you plan to clone the old drive.
- Power the system down, unplug it, and open the case.
- Mount the SSD in the correct bay or slot, then connect the SATA data and power cables if needed.
- Boot into Windows and initialize or clone the drive depending on your goal.
- If the SSD will become the main drive, confirm the boot order in BIOS after cloning.
Common mistakes to avoid
- Do not force an M.2 drive into the slot at the wrong angle.
- If the system does not see the new drive, recheck cables, slot compatibility, and BIOS storage settings.
- Cloning mistakes can risk data loss, so a backup first is strongly recommended.
When DIY stops being worth it
There is nothing wrong with doing the safe part yourself and then handing the rest off once the job becomes stressful, time-consuming, or risky. That is especially true when the computer has important files, expensive parts, or symptoms that do not match a simple upgrade.
Subtronics LLC offers local diagnostics, upgrades, custom PC help, and remote support. If you want ongoing help after the repair, ask about Subtronics TechCare.
More helpful pages
Why Is My Computer So Slow?
Work through common causes before spending money on parts you may not need.
Why Is My Computer Overheating?
Heat, dust, bad airflow, and failing fans can all drag performance down.
Custom PC Builds
Want a whole new desktop instead of patching the old one together? We build from the ground up.